
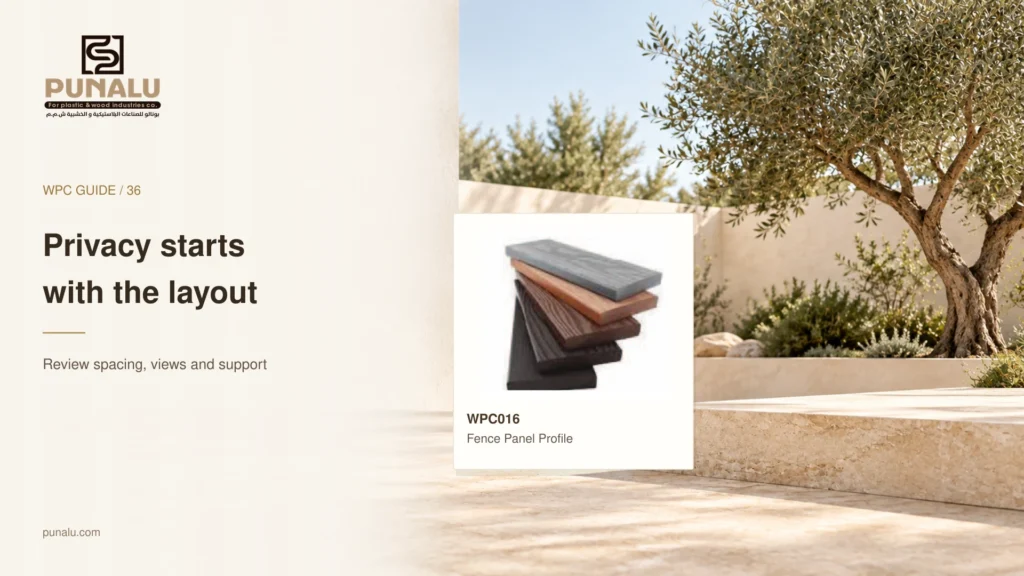
A privacy screen needs to work from the places where people actually sit, walk and look towards the property. A front-facing photograph cannot show every sightline. Before choosing the gaps between WPC elements, define the privacy problem, review the relevant views and confirm the supporting design. This creates a more useful brief than asking for the smallest possible spacing without considering the whole installation.
Identify the views you want to manage
Mark nearby windows, paths, balconies, seating and entrances on a simple plan. Note whether the concern is a direct view, an elevated neighbour or people passing at an angle. Visit the location at the times it is normally used. A screen that provides privacy from the street may still leave a clear view from a higher position, so one viewpoint cannot represent the complete requirement.
Consider height and position together
Moving a screen can change the sightline as much as changing its height. Ask the designer to compare its position with furniture, boundaries and planting. Check applicable site or property requirements before committing to the layout. If a barrier or guarding function is required, treat that as a separate design responsibility; a decorative privacy screen should not automatically be assumed to perform a safety function.
Compare gaps using a sample arrangement
Set out several actual elements at the proposed spacing and review them from relevant positions. Look straight through the screen and along it at an angle. For a teaching illustration, two layouts with the same overall height can provide different views because their element width, gap and orientation differ. The suitable arrangement depends on your brief and the approved product system, not a universal gap dimension.
Choose identified profiles
Browse PUNALU’s fence and pergola category and ask which products are recommended for the proposed screen. Keep the exact code, supplied dimensions and finish in the material enquiry. A decking board should not be substituted merely because its colour matches. The earlier article on WPC fences and privacy screens provides broader design context; the next step is an application-specific proposal.
Coordinate support and exposure
The spacing decision belongs alongside the supporting design, rather than being finalized independently. Ask the responsible designer to assess the arrangement, connections, location and relevant exposure conditions. Do not infer allowable spans or fastening details from a catalog photograph. Supports and fixings should be specified for the selected profiles and the actual project, with clear responsibility for checking the complete assembly.
Balance privacy with daily use
Consider daylight, the view you want to retain and access for cleaning. Coordinate the screen with doors, drainage points and service equipment. If planting will grow alongside it, allow the design team to consider future access rather than only the first-day appearance. Review both sides of the screen where neighbours or public areas will see the installation, including edges and visible connections.
Prepare a clear enquiry
Provide the intended location, dimensions, photographs, privacy viewpoints and preferred sample arrangement. Ask for compatible finishing pieces and a complete component schedule. Include the cleaning and replacement information you need at handover. Review PUNALU’s accessories as references for discussion, while allowing the supplier and designer to confirm which items belong in the selected system.
Document the sightline test
Label the viewpoints on the plan and photograph the sample arrangement from each one. Note the position of the camera and the seating or standing location. This creates a repeatable comparison if the spacing changes. It also helps distinguish a improvement in privacy from a photograph taken at a favourable angle. Keep the arrangement with the drawing so the installation team can reproduce the reviewed design.
Contact PUNALU with the layout and product references before ordering. An approved screen drawing should record height, location, element direction and spacing, together with the supporting detail. That shared reference helps the finished screen address the original privacy need while remaining coordinated with the property and the proposed installation.