
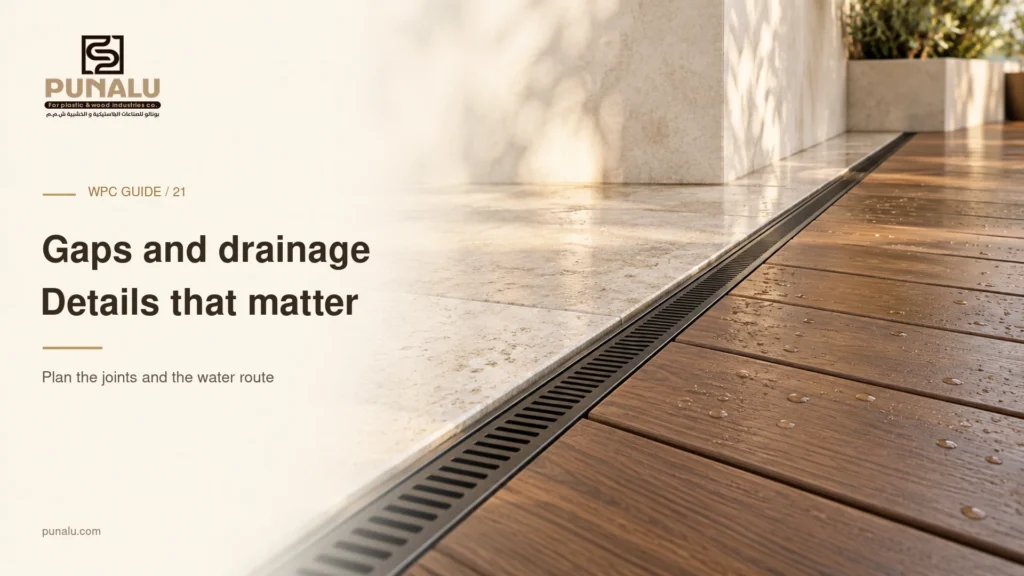
The spaces between deck boards are easy to overlook when choosing a colour or texture. Yet joints, perimeter clearances and drainage details belong in the design discussion from the beginning. They affect how the selected system is assembled, how it meets surrounding construction and how the area can be maintained.
If you are planning WPC decking, use this guide to understand the questions behind those details. The correct dimensions must come from the instructions for the exact product and the project design. There is no single gap that can safely be prescribed for every WPC board, climate or installation arrangement.
Separate the different kinds of space
A side joint between adjacent boards is not the same detail as an end joint where two lengths meet. A clearance beside a wall is different again. Drawings and quotations should make these locations clear so that nobody assumes one dimension applies everywhere.
Ask the installer to identify the side joints, end joints, perimeter clearances and openings around fixed objects. Include columns, door thresholds, posts and access panels. This simple exercise often reveals details that were absent from the original sketch but will need a decision on site.
The appearance of these spaces can be coordinated with the layout. However, a preference for an almost seamless surface should not override the requirements of the chosen system. Resolve the visual effect through the approved design rather than by reducing a required allowance during installation.
Use the product guide to determine movement allowances
Composite decking manufacturers provide installation information for their own products, including movement-related details. The applicable requirements can depend on the product and conditions described in the guide. Ask the contractor to show which instructions govern the boards you have ordered.
Record the profile name and the revision of the guide. If the layout contains long runs, unusual junctions or a change in direction, ask whether the standard details cover them. Any unresolved question should be referred to the supplier before the affected area is installed.
Do not copy a dimension from a photograph or infer it from the width of a clip shown online. A photograph may depict a different product, installation stage or site condition. The documented system is the more useful basis for a decision.
Understand the separate role of drainage
Movement allowance and drainage are related design considerations, but they are not interchangeable. Leaving spaces between boards does not by itself prove that water beneath the deck has a route to an outlet. The substrate, falls, drains and supporting arrangement need coordinated review.
Ask your contractor to trace the route of rainwater from the deck surface to its intended discharge point. On a roof or balcony, involve the person responsible for waterproofing and drainage. The new finish should be designed around those building requirements rather than conceal them.
For a ground-level terrace, the team should likewise assess the actual site conditions. Avoid assuming that a solution photographed on soil, concrete or a roof can be transferred unchanged to another location.
Plan around the obstacles beneath and beside the deck
Support members, perimeter closures and services can influence access and water routes. Ask to see the proposed arrangement before it is covered. Where the design requires openings or ventilation, confirm that the finishing detail will preserve them.
Planters and furniture should also be considered. A large planter placed over an access panel can make routine drain cleaning inconvenient. Mark service areas on the handover drawing and explain to the owner which spaces should remain reachable after furnishing.
If the deck surrounds an existing tree, pipe or post, request a specific detail rather than a general note to “cut around it.” The responsible designer should consider the relevant movement, access and building requirements for that junction.
Make drain access part of the finished design
An access section should be planned with the installer, including how it is supported, opened and returned to its proper position. It should not be an unsupported piece left loose because a drain happens to sit underneath. The detail must suit the system and the expected use of the area.
Ask for a demonstration at handover where an opening is designed for routine maintenance. Record the tools or procedure required and keep that information with the care instructions. This avoids unnecessary dismantling when a different maintenance person attends the property later.
Photograph the drain and surrounding arrangement before final closure. Add a simple location reference to the drawing so that the photograph can be understood without relying on the memory of the original installer.
Review the completed details with a checklist
Before handover, ask the responsible team to confirm that the specified joints and clearances have been followed. Review the agreed drainage route, accessible outlets and removable sections. Any measurement or acceptance criterion should refer to the project specification rather than an improvised standard.
Keep a record of approved departures from the initial drawing. If the drain moved or an extra post appeared during construction, make sure the final documentation reflects it. A small drawing update can save substantial confusion during later maintenance or alterations.
During use, remove debris according to the care instructions and report persistent standing water or a change in the installation. Do not attempt to correct a movement concern by forcing boards together or cutting new openings without professional advice.
Frequently asked questions
What is the correct gap between WPC boards?
Use the value and method stated for the exact product, fastening system and installation conditions. A generic article cannot establish the correct number for every board.
Do gaps make a deck waterproof?
No. A deck finish and a waterproofing system perform different roles. On a roof or balcony, the responsible team must coordinate the waterproofing, drainage and finish as a complete detail.
Can I close the perimeter to hide the frame?
The perimeter finish must preserve any required movement, drainage, ventilation and access provisions. Ask for an approved detail that achieves the appearance you want within the system’s requirements.
Request the right documents from PUNALU
When discussing WPC materials with PUNALU, include your layout and ask for the applicable product and installation information. Have your contractor resolve the actual joints, support arrangement and drainage coordination before ordering. Clear details are easier to build and maintain than assumptions left until the final row of boards.
Sources and product guidance
Use the selected product documentation. Other manufacturers’ guidance applies to their own products.