
The centre of a WPC wall is usually the easiest part to visualize. Corners, edges and openings determine how convincingly the cladding meets the rest of the building. They also bring several trades together. Plan these junctions before ordering, so the selected profiles, finishing pieces and adjacent materials can form one coordinated proposal rather than a collection of last-minute fixes.
Identify every type of junction
Mark outside corners, inside corners, top and bottom edges, window surrounds, door openings and service penetrations on the elevation. Note where WPC meets paint, stone, metal or glazing. A photograph can help explain the intended appearance, but the installer needs dimensions and an agreed detail. Group similar junctions together so that the same condition receives a consistent treatment across the project.
Start with the chosen panel
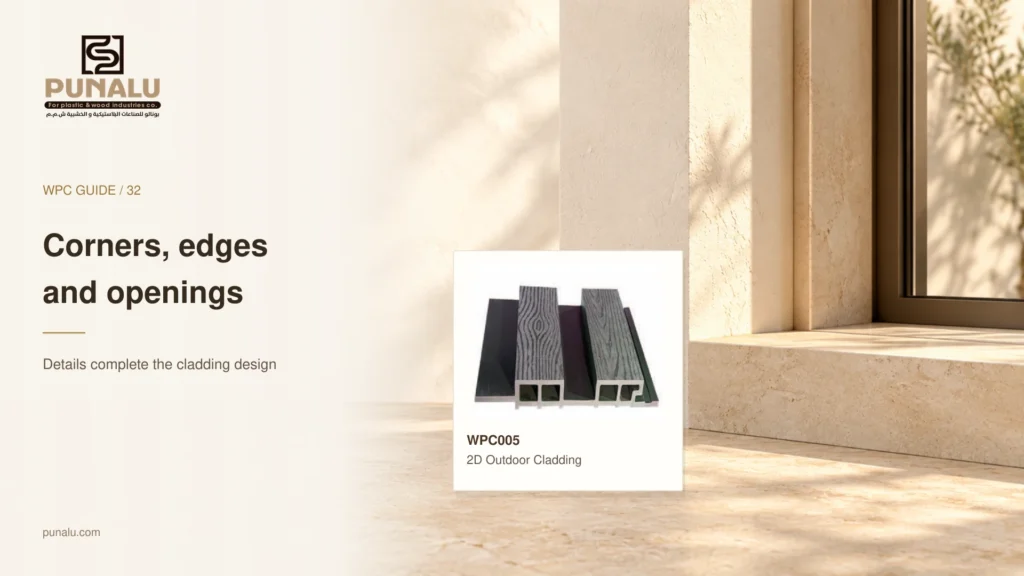
Review PUNALU’s wall cladding products and record the exact code. Different profiles can create different visible depths and connection arrangements. For example, WPC005 2D Outdoor cladding should be detailed using its own product information. Do not assume that a trim illustrated beside a different manufacturer’s board will fit, cover the edge or allow the necessary movement.
Compare corner appearances
Ask your designer to show the available approved corner solutions. Consider the visible width of any finishing profile, alignment with nearby joints and the appearance from both sides. Avoid treating a tightly cut corner as automatically superior to a visible trim. The correct choice balances the intended appearance with the fixing, movement and exposure requirements of the particular wall assembly.
Coordinate window and door surrounds
The opening detail must bring the cladding, frame and surrounding wall together. Decide who is responsible for sill, head and reveal coordination. Do not allow decorative cladding to obstruct an existing drainage path or service access. The project designer should resolve weathering and sealing requirements with the relevant trades; a neat visible edge alone does not establish that the opening is correctly detailed.
Plan top and bottom terminations
Show where the cladding starts and finishes, including any required clearance, closure or ventilation provision. Confirm these dimensions from the selected system rather than a generic online diagram. Consider cleaning access and the appearance of the lower edge from nearby paving. At the top, coordinate the termination with copings, roof edges or other finishes before the final material schedule is prepared.
Verify finishing components
Browse PUNALU’s accessories catalog to identify items for discussion, then ask the supplier which pieces are compatible with your application. Record product references and quantities separately from the panel area. An accessory name or similar colour is not enough to confirm suitability. Ask how the component is fixed and how it interacts with the supporting arrangement and adjoining material.
Approve one representative junction
A small mock-up can make an edge decision easier to assess. Include the actual panel, proposed finishing piece and adjacent surface. Review the fixing appearance, joint consistency and cleaning access. The broader article on choosing a WPC cladding system helps frame the questions, but the approved mock-up should represent the product and construction detail intended for your own project.
Create a junction schedule
Give repeated details simple references, such as C01 for an outside corner and W01 for a window surround. Link each reference to its drawing, selected component and measured quantity. If the detail changes, update every affected location and the material schedule together. This is especially helpful when several elevations look similar but have different opening sizes, because one copied detail may otherwise conceal a missing return or an incorrectly counted finishing piece. Confirm that the installer and supplier are working from the same updated schedule before issuing orders.
Before purchasing, assemble the elevation, junction drawings and finishing schedule into one enquiry. Ask PUNALU to confirm the relevant current products and supporting information. Clear junction details make pricing more complete, reduce ambiguous substitutions and give the installer a practical reference for achieving the agreed appearance throughout the wall.
Sources and product guidance
Use the selected product documentation. Other manufacturers’ guidance applies to their own products.