Whether you’re renovating your apartment, decorating a villa, or upgrading an office, WPC wall panels can completely transform the look of any space. This complete step-by-step guide will walk you through the process of installing WPC panels like a professional.
What You'll Need
🔧 Tools
- Measuring tape & Spirit level
- Drill or screwdriver
- Hand saw or cutting machine
- Rubber mallet
- Safety gloves & goggles
🧩 Materials
- Punalu WPC wall panels
- Aluminum or wooden battens
- Screws & Wall plugs
- Starter & End clips
- Silicone sealant (optional)
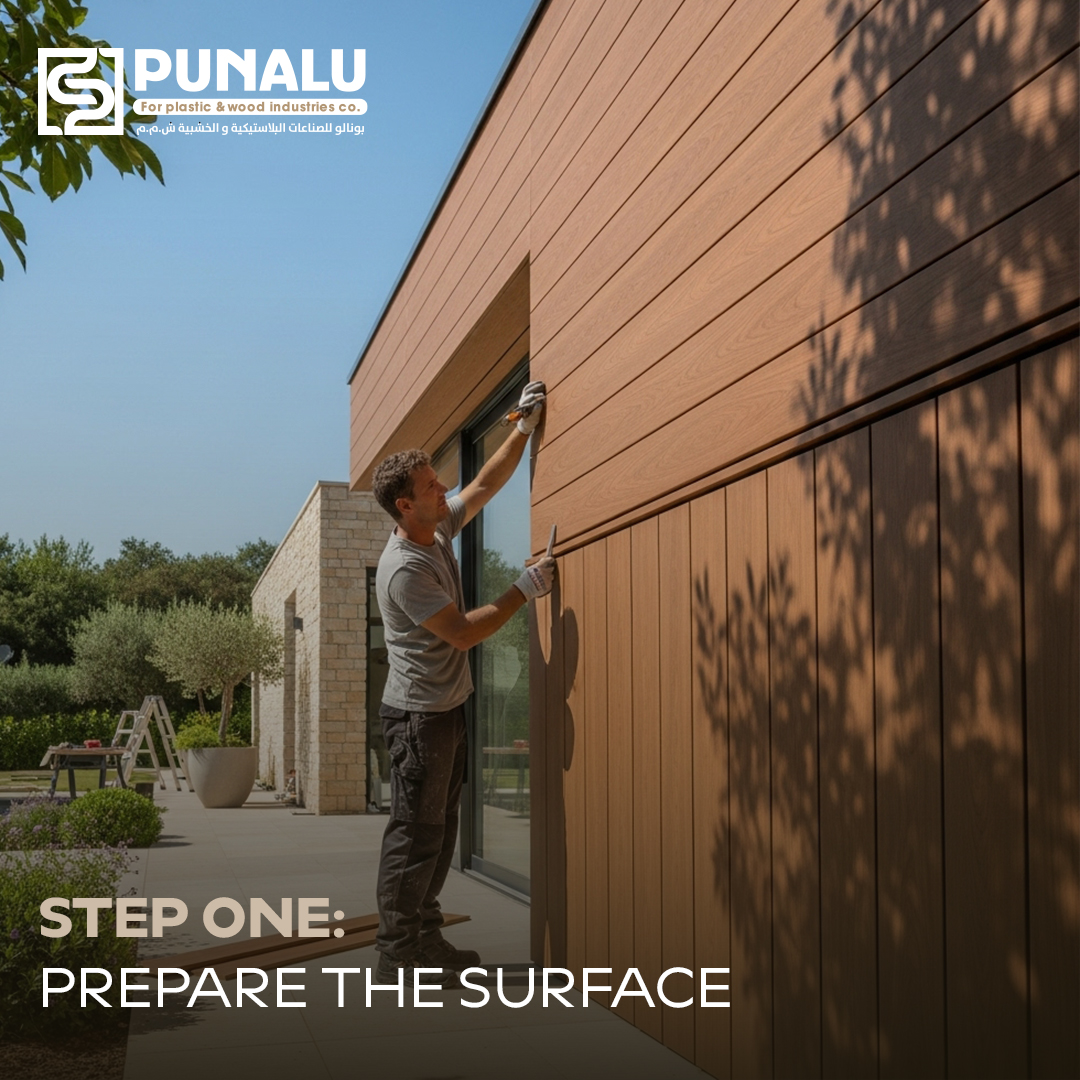
Ensure the wall surface is clean, flat, and dry. Remove any dust, nails, or uneven areas.
If the wall is damp or uneven, fix aluminum or treated wood battens horizontally or vertically. For bathrooms/kitchens, always use aluminum framing (rustproof).
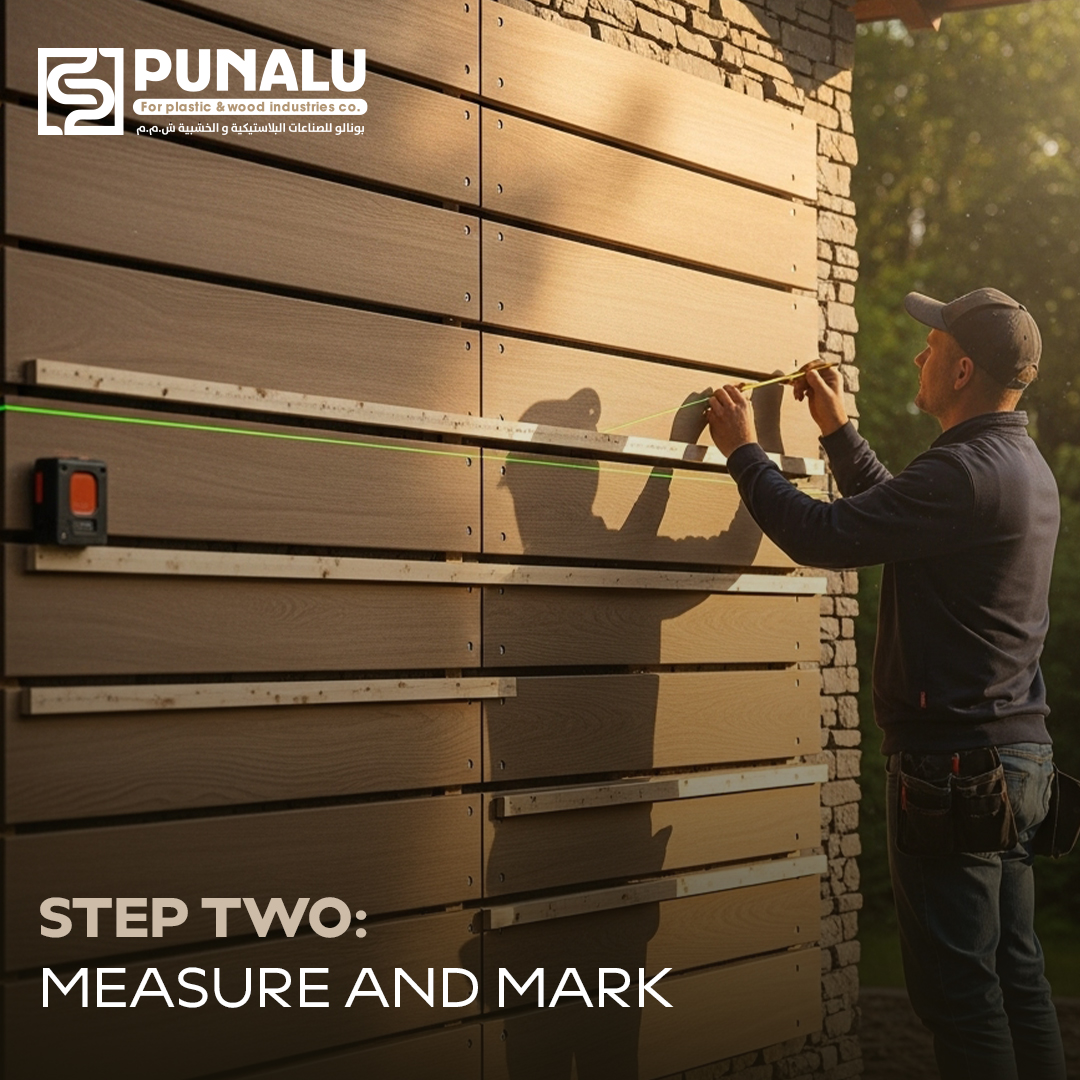
Using your measuring tape and level:
- Mark the height and width where panels will go.
- Use a chalk line or laser level for straightness.
- Mark screw positions on battens (40–50 cm apart).
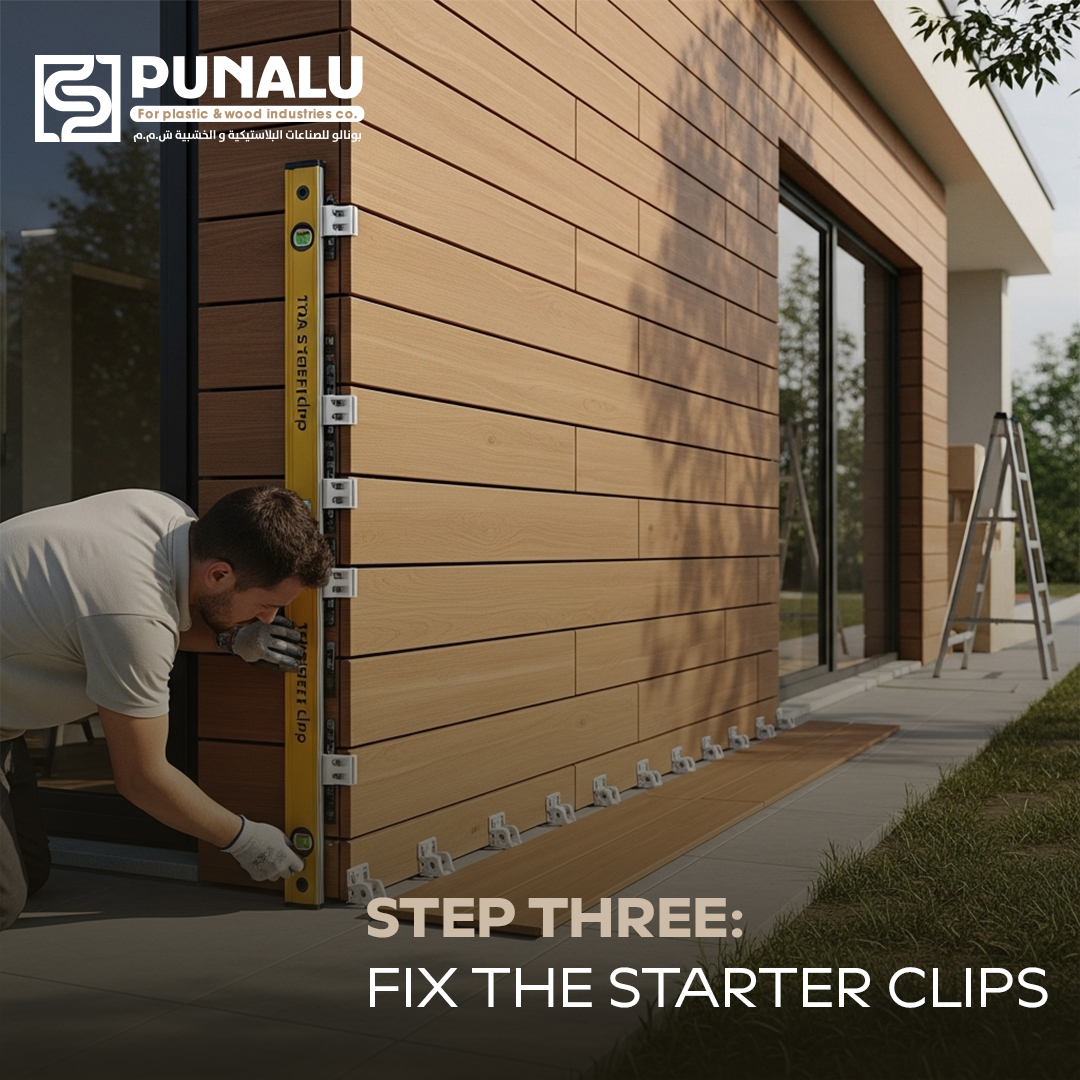
At the bottom of the wall, fix starter clips along the length of the batten using screws. These clips hold the first panel firmly in place.
Crucial: Make sure all clips are perfectly level — this defines the straightness of your entire wall.
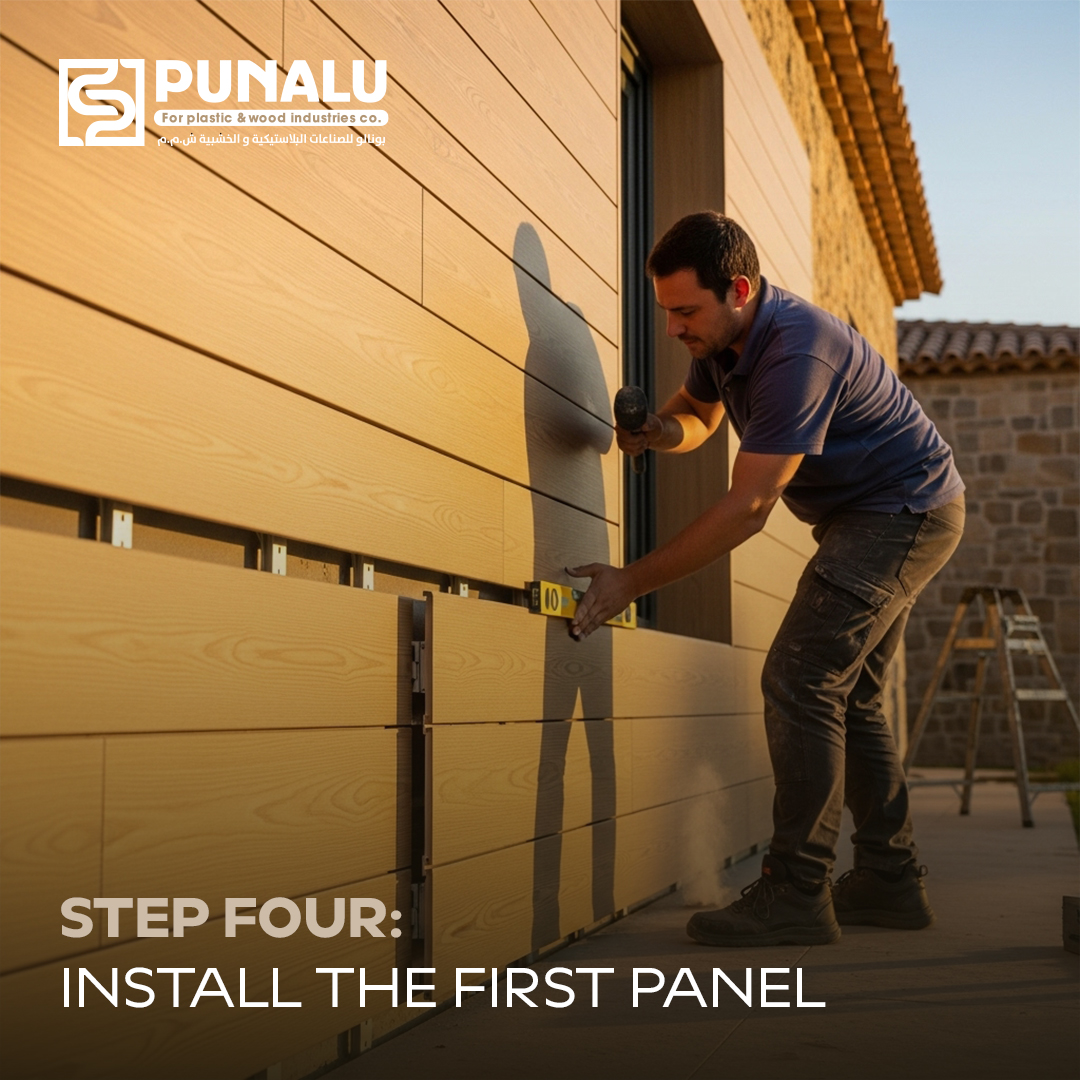
Slide the first WPC panel into the starter clips. Use your level to check that it’s perfectly vertical.
Secure it by screwing through the groove or using hidden clips. Gently tap into position with a rubber mallet (do not use a metal hammer).
Install the next panel by inserting its groove into the tongue of the previous one. The interlock system ensures a seamless fit.
Check alignment every 3–4 panels. Leave a tiny expansion gap (3–5 mm) at the floor/ceiling.

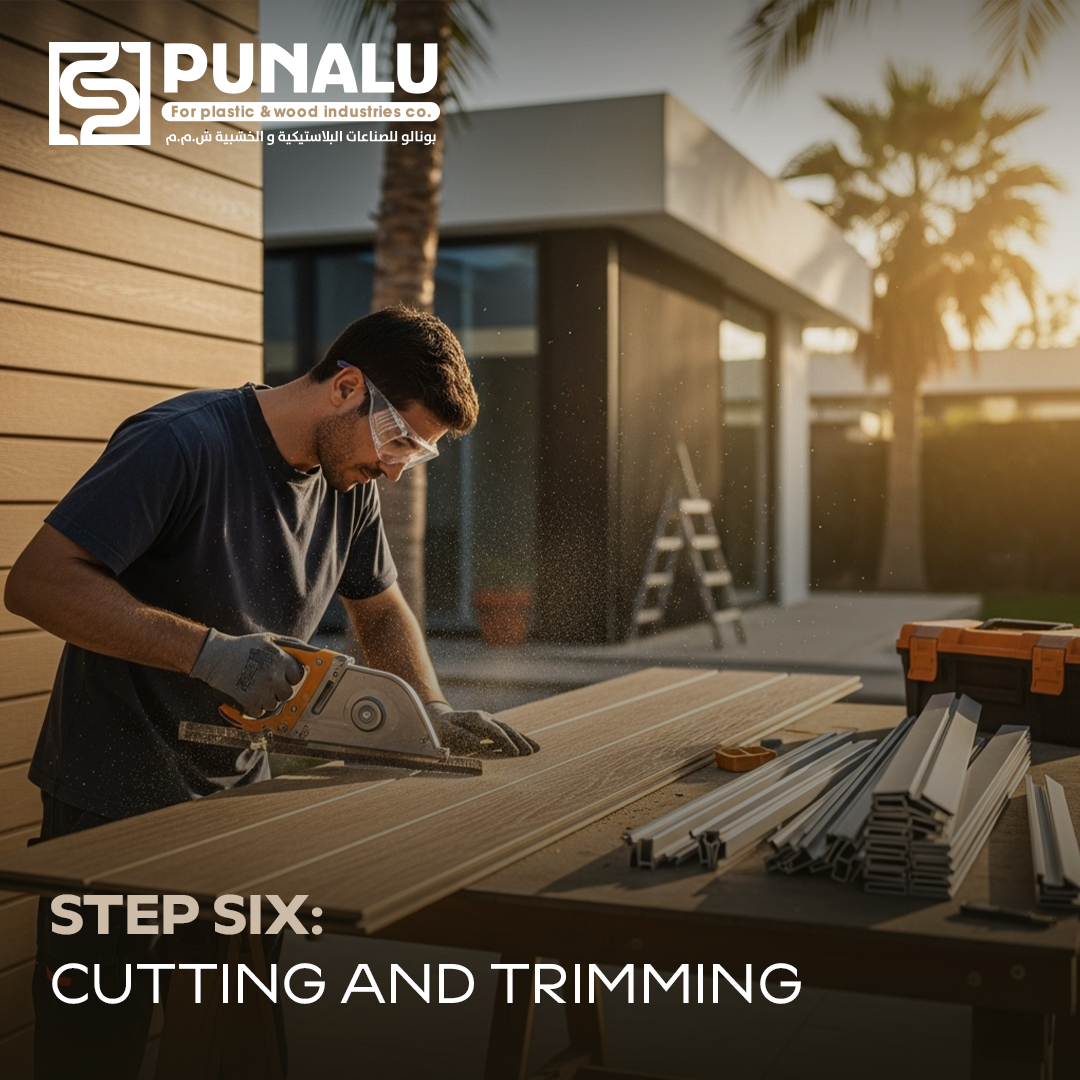
If you need to adjust panel lengths, use a fine-toothed hand saw or power cutter for clean edges.
At corners or door frames, cut panels carefully. Use L-shaped aluminum trims for a neat, professional corner finish.
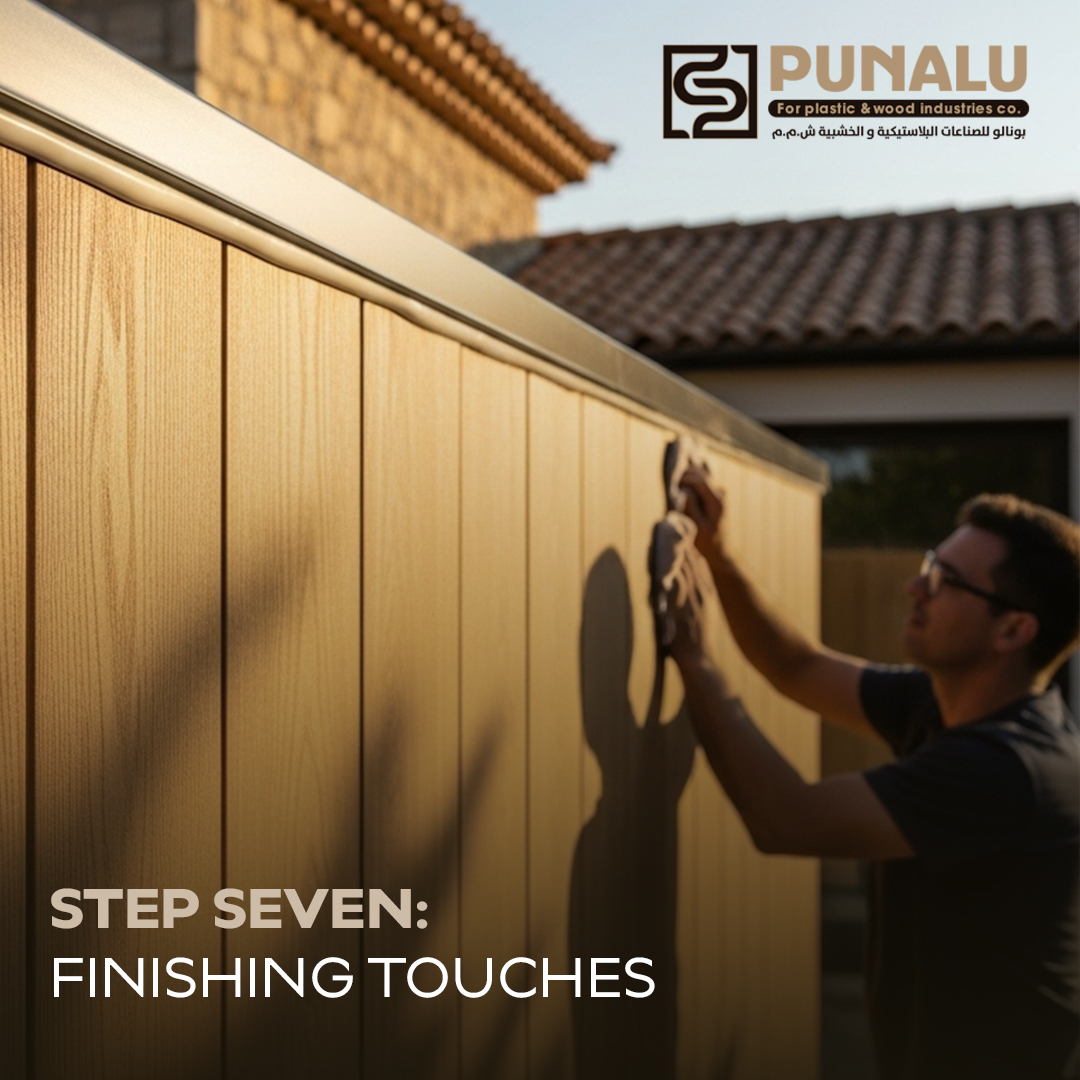
Once installed, apply silicone sealant along the edges if desired for a moisture-proof seal. Clean the surface with a soft dry cloth.
Congratulations — your WPC wall is complete!
Maintenance Tips
Use a soft, damp cloth.
Avoid harsh abrasives.
Don't drill directly into panels without a batten.
Why Choose Punalu?
We don’t just supply materials — we deliver complete solutions with high-precision European technology.
| 🎨 Variety of Designs | Fluted, grooved, marble, and matte textures. |
| 🌍 Eco-Friendly | Made specifically for Egypt’s climate. |
| 👷 Expert Support | Installation guidance for contractors & DIYers. |